Blogger is a popular platform for creating websites and blogs for free. It is a great option for beginners who want to create a website without investing in a domain name, web hosting, or other expenses. But in this guide I will recommend you buy a custom domain, it is the best practice, I will tell you more about the domain when we connect the domain to a blogger. With Blogger, you can create a website in minutes and start sharing your ideas, stories, and products with the world.
Table of Contents
Setting up a Blogger Account
To get started with Blogger, you need to sign up with your Google account. Here’s how:
- Visit www.blogger.com and click on the “Create Your Blog” button.
- Sign in with your Google account or create a new Google account one if you don’t have one already.
- Choose a display name that will be shown on your blog.
- Choose a blog title and URL. The URL will be your blog’s web address, so choose something that is easy to remember and reflects the content of your blog.
- Choose a theme for your blog. You can choose from a variety of free and premium themes, or you can create your own custom theme. I will discuss more themes in this article so keep reading.
Related posts:
- 50+ Profitable Blog Niche Ideas to Make Money in 2023
- All Festival Wishing Script for Blogger & PHP (2023)
- AI Tools
- How to Remove the Bing Button from Microsoft Edge
Navigating the Dashboard

Once you have created your Blogger account, you will be taken to the dashboard. The dashboard is the control panel for your blog, and it allows you to manage your blog’s settings, posts, pages, and comments. Here are some of the key features of the Blogger dashboard:
- Posts: This is where you can create, edit, and delete blog posts.
- Stats: This is where you can view your blog’s traffic statistics, and traffic sources and analyze your visitors’ behavior.
- Comments: This is where you can manage comments on your blog posts.
- Earnings: This is where you can connect your Adsence account to show ads on your site in order to make money.
- Pages: This is where you can create static pages for your website, such as a Policies page, an About page, or a Contact page.
- Layout: This is where you can customize the design of your blog by adding and arranging widgets and gadgets.
- Theme: This is where you can change your blog theme or add a custom theme.
- Settings: This is where you can manage your blog’s settings, such as your blog title and description, your privacy settings, and your email preferences.
Settings
The Blogger Settings page is where you can customize and control various aspects of your blog. It is accessible from the dashboard of your Blogger account.
On the Settings page, you can adjust basic settings like your blog’s title and description, language, and time zone. You can also enable or disable various features such as commenting and email notifications and configure your blog’s privacy settings.
For SEO purposes, you need to enable the “Meta Tags” setting, and add a description of your blog.
Overall, the Blogger Settings page provides a convenient way to manage and personalize your blog to suit your needs.
Creating Pages and Posts
Now that you have set up your Blogger account and familiarized yourself with the dashboard, it’s time to start creating content for your blog. Here’s how to create pages and posts on Blogger:
- To create a new post, click on the “New Post” button on the Posts page.
- Provide a title for your post and compose your content using the post editor, which enables you to include text, images, videos, and links in your post.
- Use the formatting tools to style your text and make it more readable.
- Add labels to your post to help categorize your content and make it easier to find.
- Add the Description of your blog post.
- Click on the “Publish” button to publish your post on your blog.
Follow these steps to create a new page.
- Go to the Pages page and click on the “New Page” button.
- Give your page a title and write your content in the page editor.
- Use the formatting tools to style your text and make it more readable.
- Add the Description of your page.
- Click on the “Publish” button to publish your page on your blog.
Similarly, create your Privacy Policy, Terms, conditions, and Disclaimer pages.
Customizing the Design
One of the great things about Blogger is that you can customize the design of your site without any coding knowledge. Here are some of the ways you can customize the design of your blog:
- Choose a theme: Blogger offers a variety of free and premium themes that you can choose from.
- Modify fonts and colors: You can change the fonts and colors of your blog using the Fonts and Colors options in the Layout menu.
- Add widgets and gadgets: You can add various widgets and gadgets to your blog to enhance its functionality and design. Some popular widgets and gadgets include a search bar, social media buttons, recent posts, and popular posts.
- Customize the header: You can customize the header of your blog by adding a logo or an image that represents your brand or content.
- Modify the footer: You can add widgets and gadgets to the footer of your blog to provide additional information, such as your copyright information, links to your social media profiles, or a disclaimer.
A Step-by-Step Guide to Buying a Domain from Namecheap and Connecting it to Blogger
First of all, I tell you that a custom domain is very important, you can also continue with the .blogspot subdomain but the problem is here you cannot own this domain because it is the subdomain provided by a blogger. If your blog was removed or something like that then you cannot be able to recover that domain name. So it is best to buy a domain name.
There are many domain providers but I personally recommend everyone to buy domains from Namecheap, because the support system is very fast and the price is also low as compared to others.
Buying a domain from Namecheap and connecting it to your Blogger account is a straightforward process. This is a comprehensive guide that outlines each step to assist you in commencing your task.
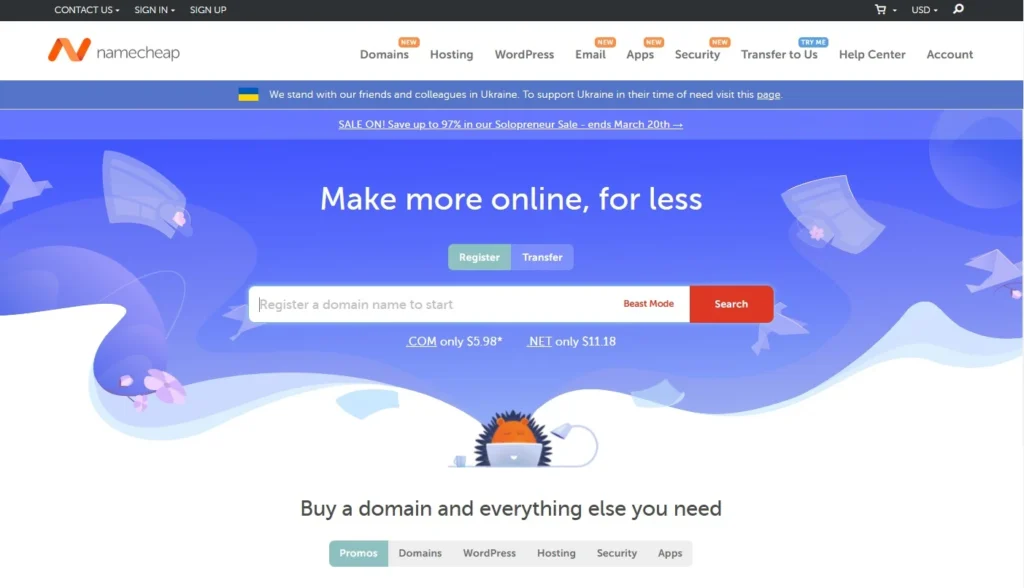
Step 1: Create a Namecheap account
To get started, visit the Namecheap website and create an account. After creating your account, access your dashboard by logging in.
Step 2: Search for a Domain Name
In the search bar at the top of the page, type in the domain name you would like to purchase. Namecheap will display a list of available domains, along with their prices.
Step 3: Add the Domain Name to Your Cart
Once you have found the domain name you want, click on the “Add to Cart” button next to it. You will then be directed to the checkout page where you will be asked to select the length of time you want to register the domain name for.
Step 4: Enter Your Details
Next, you will be prompted to enter your personal and payment details. Make sure to double-check all the details before proceeding to payment.
Step 5: Connect Your Domain to Blogger
After completing the purchase, navigate to your Namecheap dashboard and click on the “Domain List” tab. From there, select the domain you just purchased and click on the “Manage” button.
Next, click on the “Advanced DNS” tab and locate the “Host Records” section. Here, you will need to add the following four “A” records:
- Name/Host/Alias: @; Value/Destination: 216.239.32.21
- Name/Host/Alias: @; Value/Destination: 216.239.34.21
- Name/Host/Alias: @; Value/Destination: 216.239.36.21
- Name/Host/Alias: @; Value/Destination: 216.239.38.21
Once you have added the four “A” records, add a “CNAME” record with the following details:
- Name/Host/Alias: www; Value/Destination: ghs.google.com
Step 6: Configure Your Blogger Account
Log in to your Blogger account and click on the “Settings” button from the dashboard. Next, click on the “Basic” tab and locate the “Publishing” section. Click on the “Custom domain” and enter the domain name you just purchased.
Click on the “Save” button, and you will receive an error message with two CNAME records. Please keep this tab active and navigate back to your Namecheap dashboard.
Step 7: Add the CNAME Records to Namecheap
Navigate back to the “Advanced DNS” tab on your Namecheap dashboard and add the two CNAME records you received from Blogger. Once you have added the CNAME records, click on the “Save All Changes” button.
Step 8: Verify the Domain Ownership
After adding the CNAME records, return to the Blogger tab and click on the “Save” button again. Upon verification of your domain, you can publish your posts on your new domain.
In conclusion, buying a domain from Namecheap and connecting it to your Blogger account is a straightforward process. By following these steps, you will be able to purchase and set up your custom domain in no time.
Search Engine Optimization (SEO)
SEO or Search Engine Optimization is the method of refining your website to attain a higher ranking on search engines such as Google, Bing, and Yahoo. Listed below are a few pointers to enhance the SEO of your Blogger website:
- Use keywords: Use relevant keywords in your blog post titles, content, and labels to make it easier for search engines to understand the content of your website.
- Write quality content: Write high-quality, original content that provides value to your readers.
- Use meta descriptions: Use meta descriptions to provide a summary of your blog post content and improve your click-through rate.
- Use alt tags: Use alt tags to describe your images and improve your website’s accessibility and SEO.
- Build backlinks: Build backlinks to your blog by promoting your content on social media, guest blogging, and participating in online communities.
- 50+ Profitable Blog Niche Ideas to Make Money in 2023
- All Festival Wishing Script for Blogger & PHP (2023)
Monetizing the Website
There are various ways to monetize your Blogger website and earn money from your blog. Here are some of the most popular monetization methods:
- Advertising: You can earn money from your blog by placing ads on your website through Google AdSense or other advertising networks.
- Affiliate marketing: You can earn a commission by promoting other people’s products or services on your blog.
- Sponsored content: You can earn money by writing sponsored posts or reviews for brands or companies.
- Sell digital products: You can sell digital products, such as ebooks, courses, or printables, on your blog.
- Sell physical products: You can sell physical products, such as merchandise or handmade goods, on your blog.
Can I use my own custom domain name for my Blogger site?
Yes, you can use your own custom domain name for your Blogger site. First, you will need to purchase a domain name from a domain registrar like Namecheap, and then connect it to your Blogger site through the “Settings” tab.
Is it possible to change my blog’s template after I’ve published content?
Yes, it is possible to change your blog’s template even after you’ve published content. However, it’s important to keep in mind that changing your template can sometimes cause formatting issues or lead to broken links. Be sure to preview your blog before making the template change live to avoid any potential issues.
How do I create a contact form for my Blogger site?
You can create a contact form for your Blogger site by using a free form builder like Google Forms. First, create a new form with the fields you want to include, then embed the form on your Blogger site using the “HTML/JavaScript” gadget in the Layout editor.
Can I make money from my Blogger site?
Yes, you can make money from your Blogger site through various methods such as advertising, sponsored posts, and affiliate marketing. However, it’s important to note that it may take time and effort to build up enough traffic and credibility to earn a substantial income from your site.
Do I need to know coding to create a website on Blogger?
No, you don’t need to know coding to create a website on Blogger. The platform is designed for users with little to no coding experience and provides easy-to-use templates and design tools. However, if you have some coding knowledge, you can also customize your blog’s template and design further.
Conclusion
In conclusion, creating a free website on Blogger is a simple and cost-effective way to establish an online presence for your brand, business, or personal use. By following the step-by-step guide outlined in this article, you can quickly set up your blog and customize it to your liking with the minimal technical expertise required.
Remember to choose a unique and memorable domain name, select a visually appealing theme, and create high-quality content that resonates with your target audience. Additionally, don’t forget to optimize your blog for search engines, promote your content on social media, and engage with your readers to build a loyal following.
By consistently delivering value to your audience and building trust through your content, you can turn your Blogger blog into a thriving online platform that generates traffic, leads, and revenue over time. With the right strategy and dedication, your free website on Blogger can become a valuable asset for your personal or professional brand in 2023 and beyond.
Don’t hesitate to express your opinions or inquire about any queries by leaving a comment in the section below!